How to install and launch Octarine
This guide walks you through installing and launching Octarine for the first time — from creating an account to seeing the in-game menu. The whole process takes a few minutes and requires no special skills.
What you'll need
- A Windows PC
- Steam installed and a supported game (Dota 2, Deadlock or CS2)
- An Octarine account. Dota 2 requires an active subscription, while CS2 and Deadlock are currently free — no subscription needed for them.
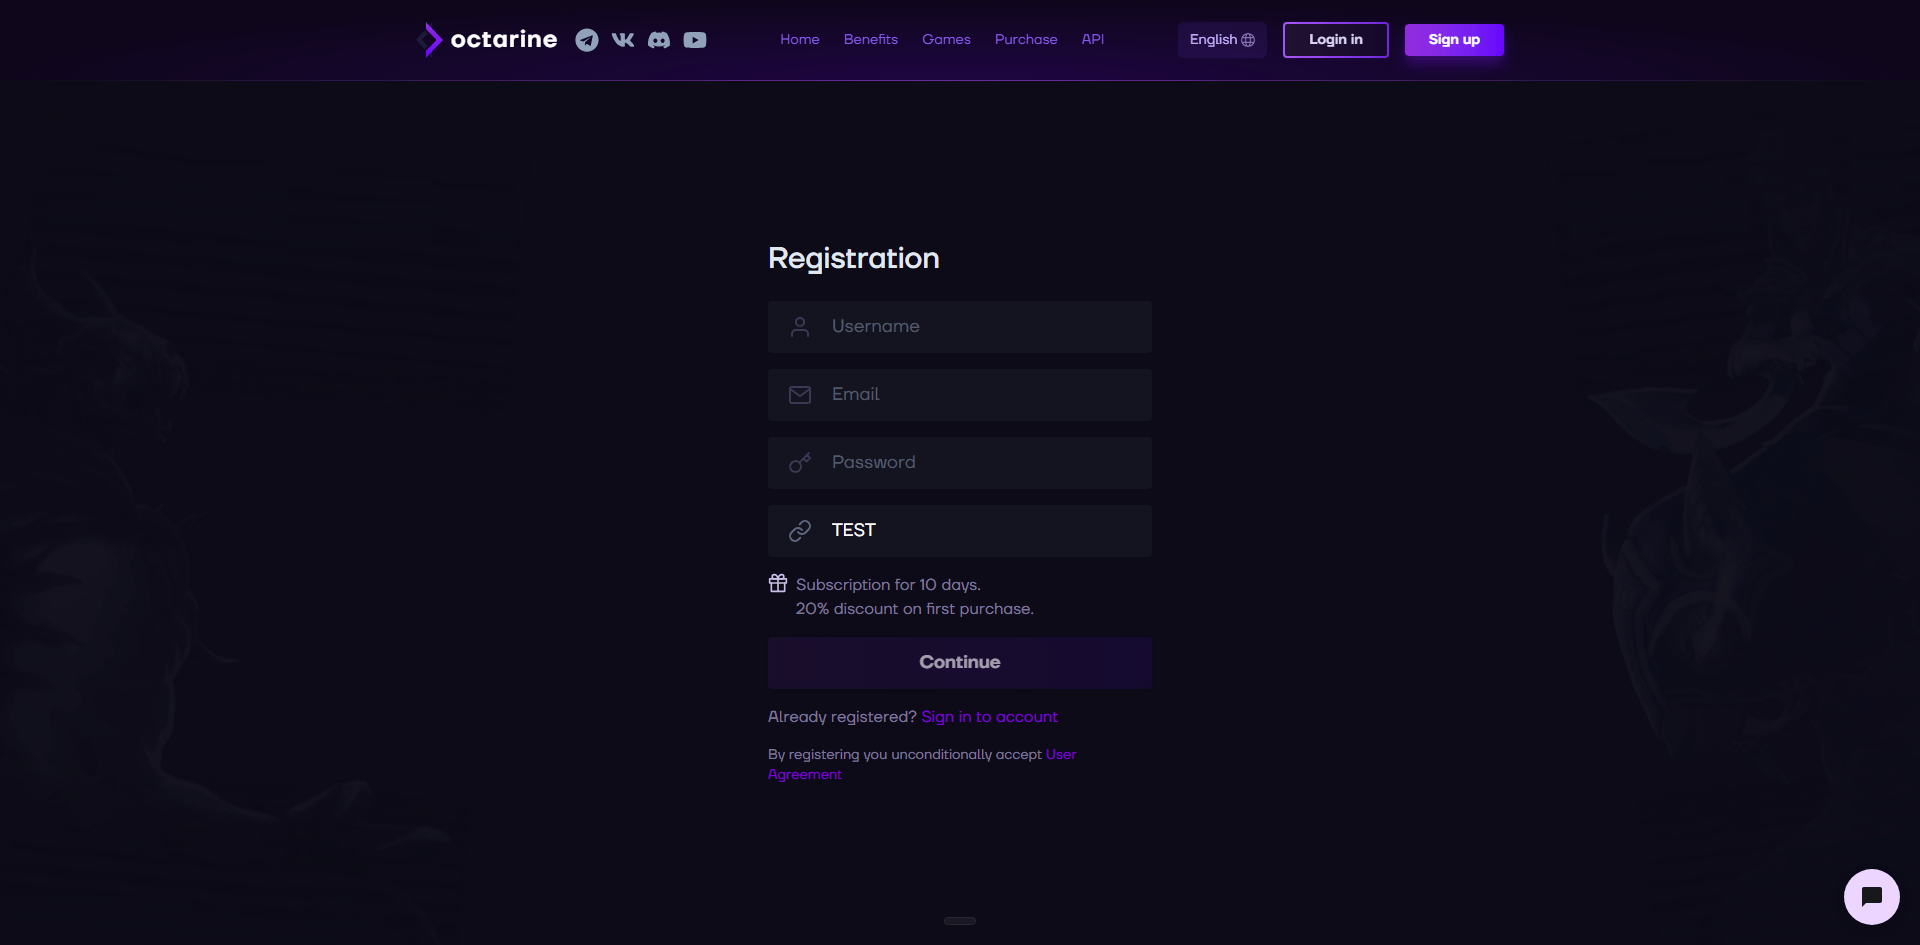
Step 1. Sign up and log in
Open the sign-up page and create an account, or log in to an existing one. Once authorized, your dashboard opens — that's where everything else happens.
Step 2. Prepare for installation
Before downloading and launching, get your system ready:
- Fully disable Windows Defender (real-time protection).
- If you have third-party antivirus software installed, it's best to remove it — it can interfere with the software working correctly.
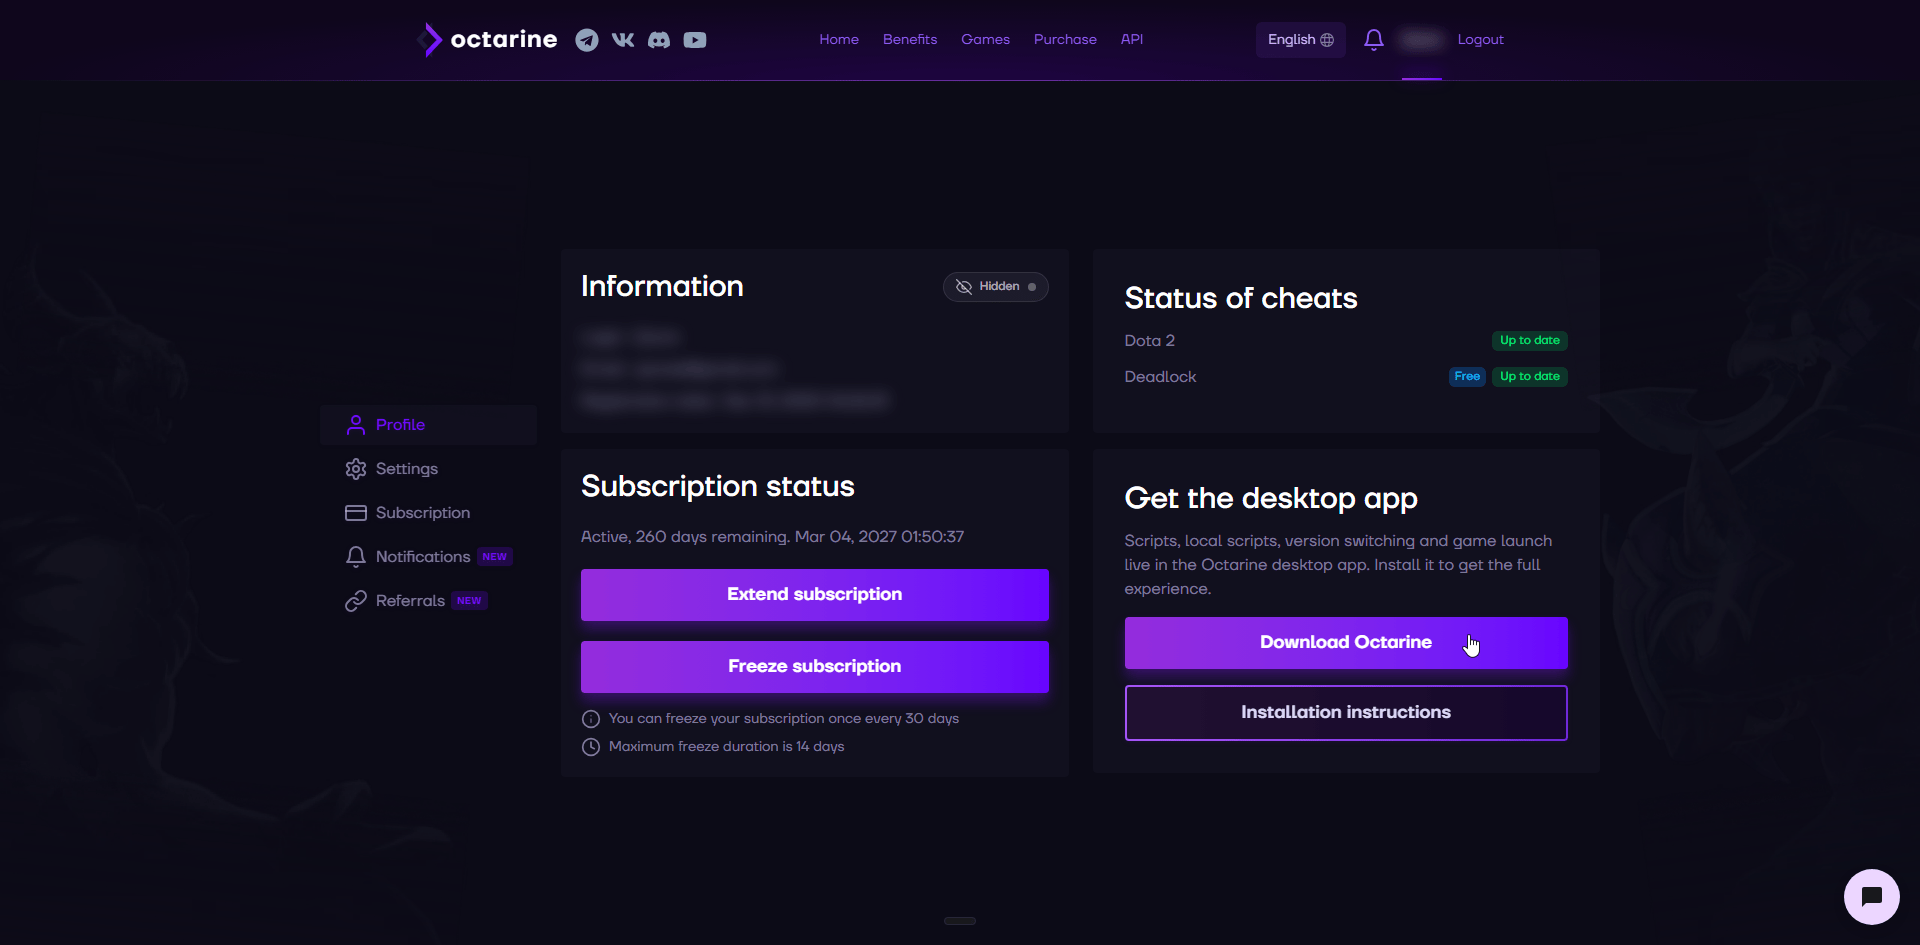
Step 3. Download the client
Open the "Profile" tab in your dashboard and click "Download" to get the Octarine desktop client. The app is where you pick the version, launch products and run scripts.
Step 4. Install
Run the downloaded file. If everything goes well, the Octarine launcher opens.
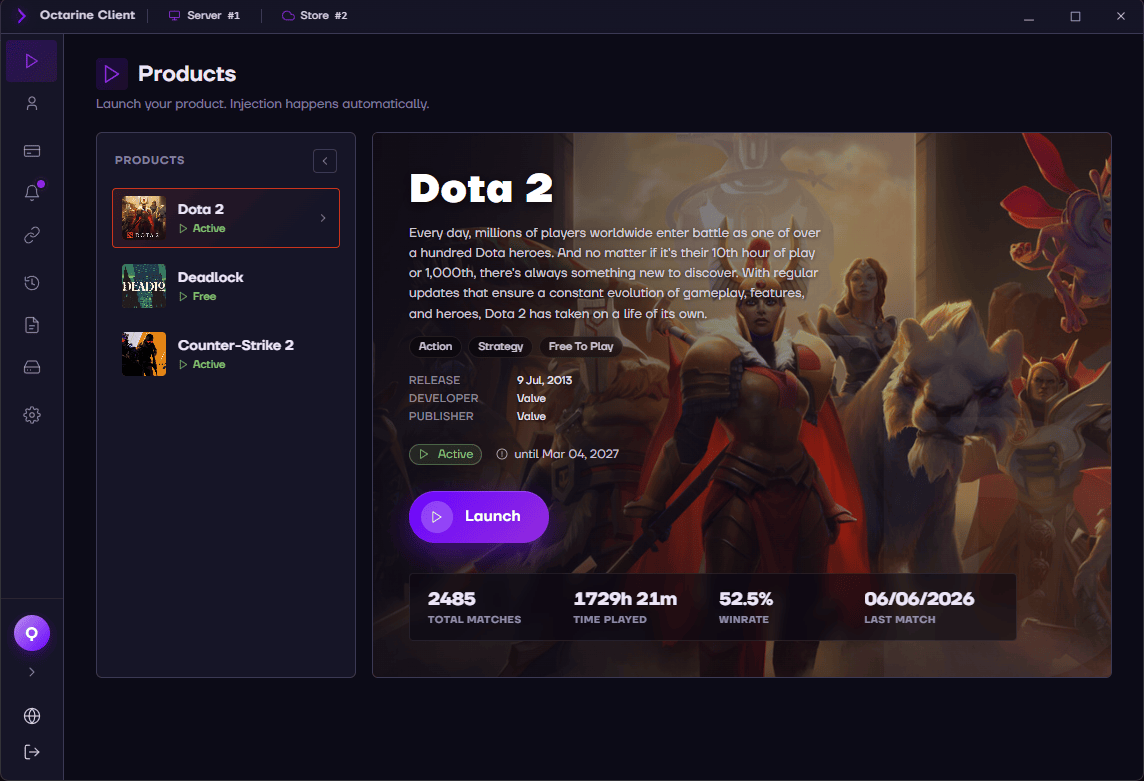
Step 5. Launch the game
Start Steam. You can launch any game either through the Octarine launcher or directly through Steam — the Octarine menu appears once the game has started.
That's it — enjoy your game!
Stuck? Reach out
If you run into trouble at any step, don't deal with it alone — message our support. We'll help you sort out the installation and launch.
Best regards, the Octarine team.